Showing posts with label holidays. Show all posts

Saturday, October 19, 2013

Halloween decorating


It's that time of year again!  Halloween is just around the corner and we've been preparing the house for the big event!  Our annual kids Halloween party is next weekend and we can't wait to have a house full of little monsters and goblins running around with their faces stuffed with sugar.  I think we're ready for Halloween, what do you think?
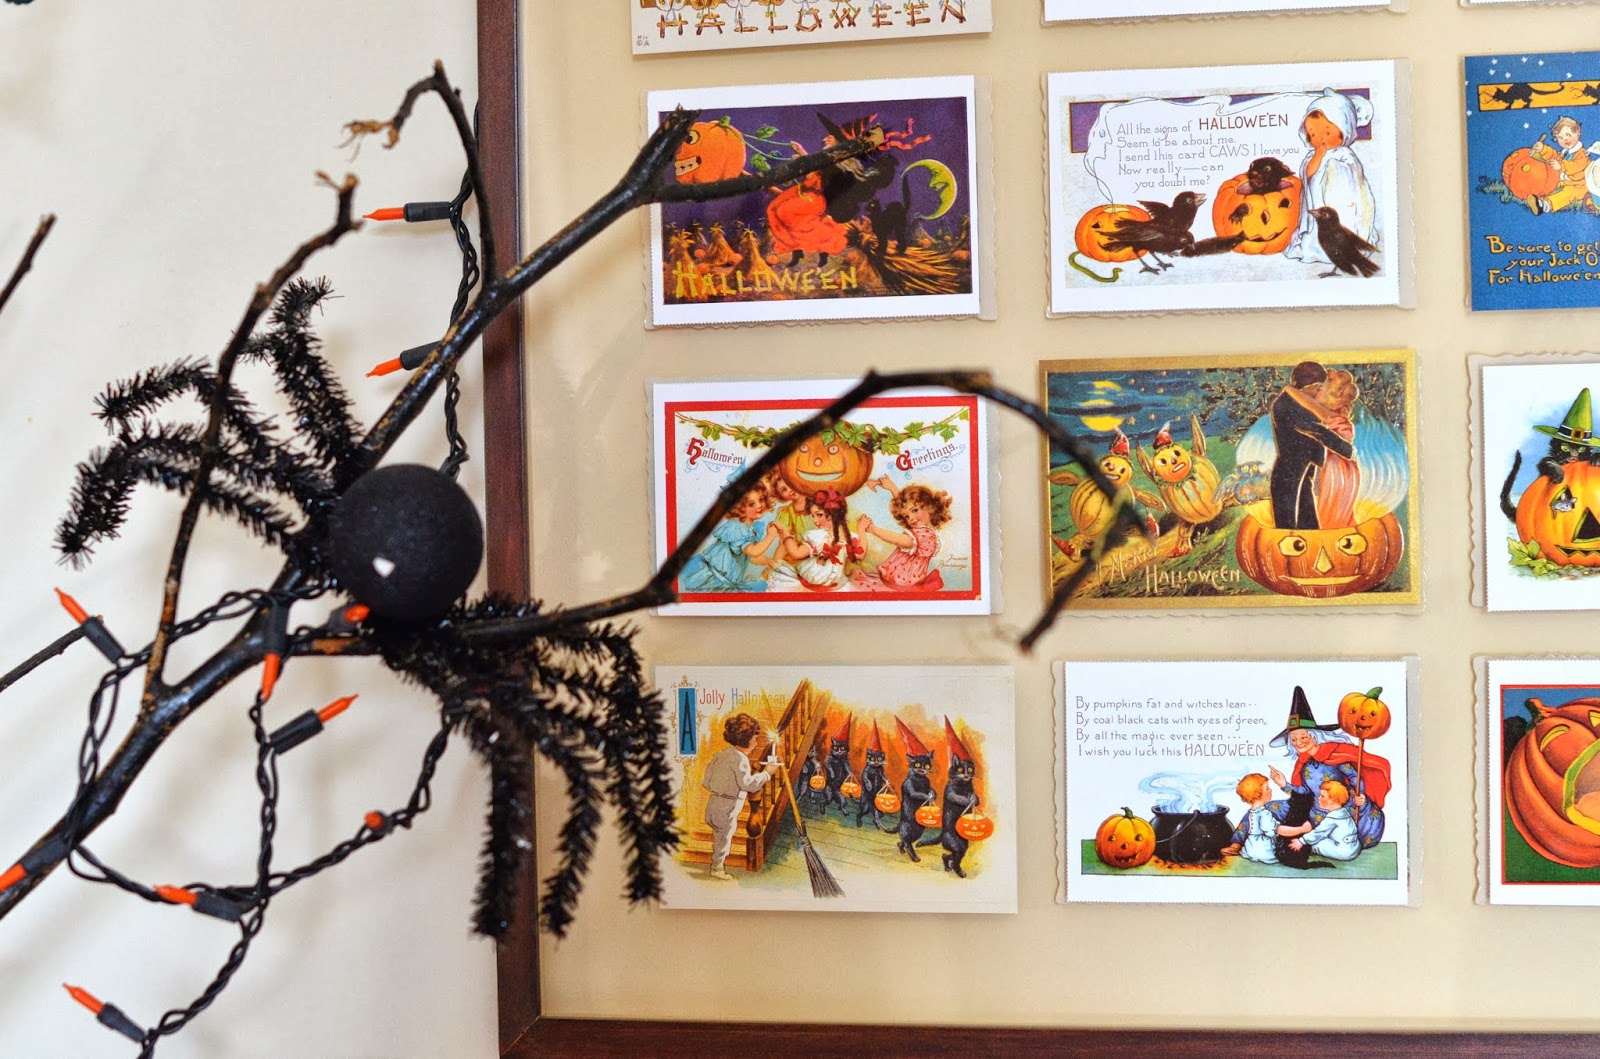
Last year, we spent a lot of time making decorations for the house and I was able to re-use most of those things.  But we also have some fun new things around the house.  One of my favorite purchases were these vintage Halloween post cards which I placed over some of our framed artwork.  It transforms that picture into a great Halloween display.  The vintage pictures are adorable and so many of them wish the recipient luck on Halloween.  I find needing luck on Halloween romantic!  These are the cards in case you want to decorate your own house with them.  I considered for a moment turning them into a bunting but I couldn't bring myself to punch holes in them.

This spooky black cheesecloth is new as well and it's perfect for the mantle.  I have two more that I plan to drape on top of a white table cloth during the party.  The holes are a little too round and nice I kind of wish it looked a little more ragged but it will do!  It would be really cool to drape this from windows or door frames for trick-or-treaters.


My folks sent a box of Halloween goodies and it included the wonderful spider web material that stretches and pulls to look like cob webs and spider webs on just about anything.  The girls loved helping with this and more than once I've caught St. George tugging at the webs and getting it caught in his teeth.  We let our homemade pipe cleaner spiders crawl in the webs. Our ancient Arabic "blackboard" looks extremely spooky covered in cob webs!
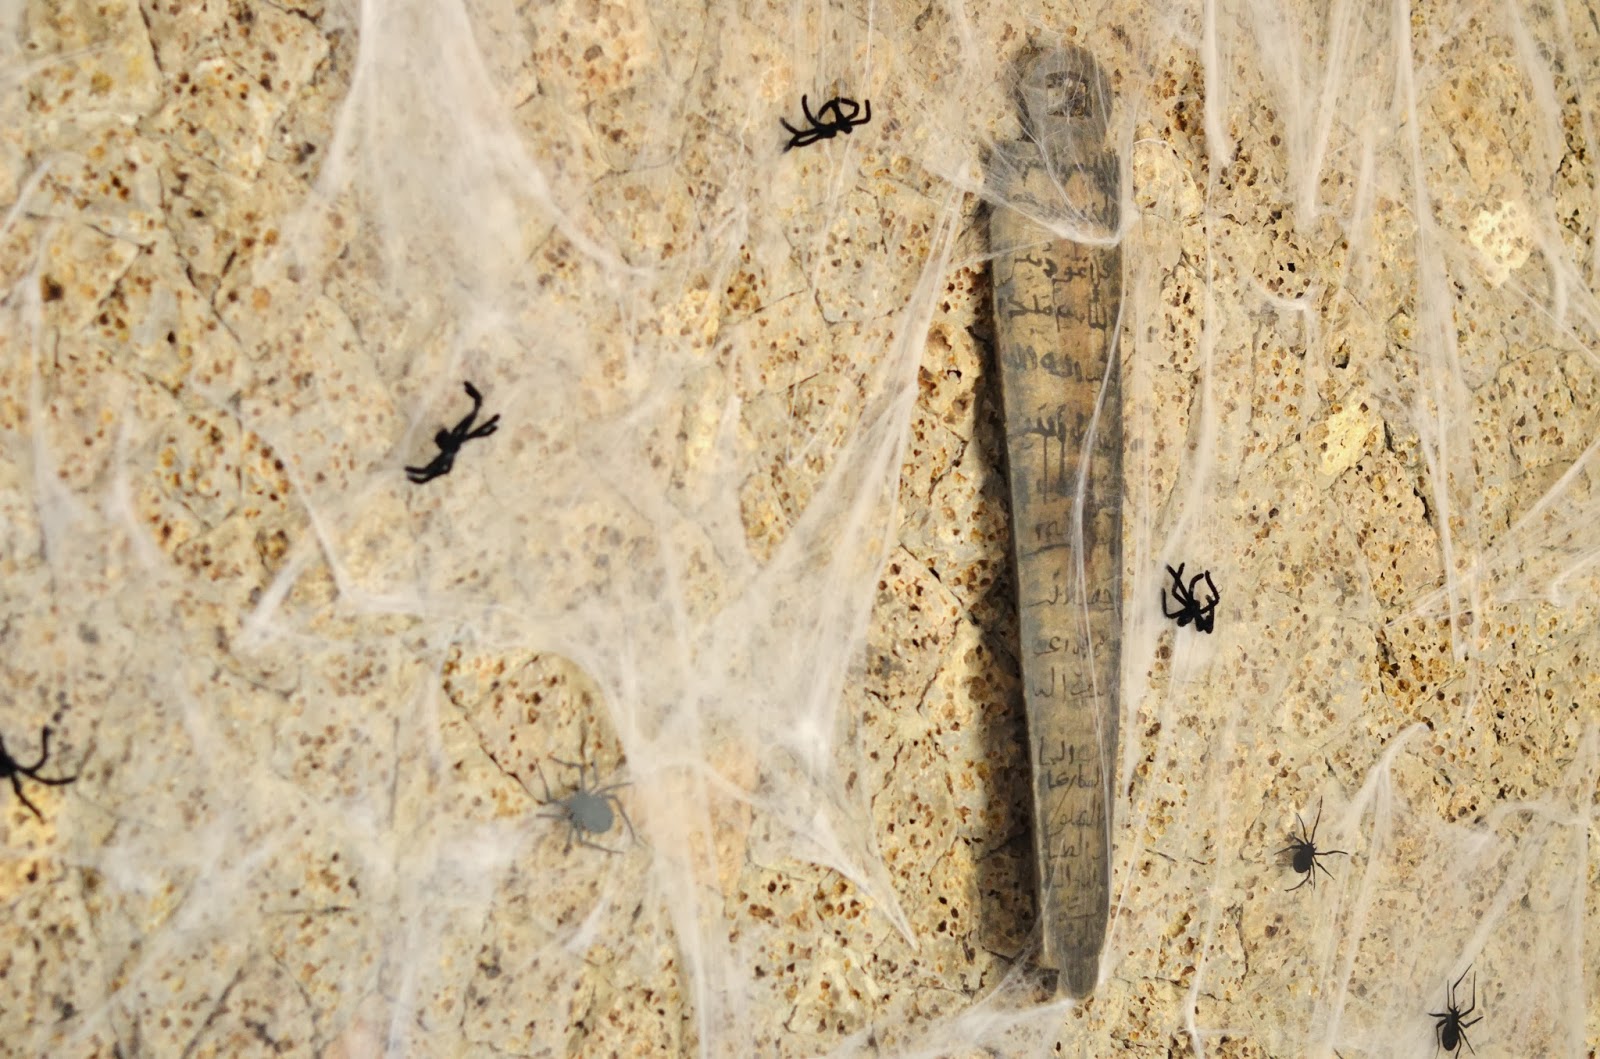

 A few paper silhouette spiders have joined them.  The rest of the spiders can be found scurrying up our fireplace mantle.
 Black owl, mice, cat and bat silhouettes are lurking around everywhere.  We're still using our painted sticks, this year we added orange lights.  The orange lentils in the vase are the very same ones from last year!

Friday, September 27, 2013

Melkem Meskel 2013

International School Addis Ababa does a spectacular job celebrating Ethiopian Meskel, the finding of the one true cross in the Ethiopian orthodox religion.  It's a big celebration around the city with large tee pee style bonfires lit on every corner.  For a family with small children, it's just too hard to get to Meskel square in Addis Ababa to see the official celebration.  The crowds are just too much.  Being able to attend with the children for a family friendly Meskel at ICS is wonderful.  I was even prepared this year with dresses made for the girls.  What a treat!
Last year, I was wowed by the entire tradition of Meskel, the dancing, the chanting and the burning of the demera.  I attended the celebration with Addie and my camera.  This year, with Ashlynn and Arabella in tow as well, I had less opportunities for amazing photos but many more precious memories.
My favorite moments were when Bella and Ash were able to sit with Addie and her class to watch the dancing and eat popcorn (a very traditional Ethiopian treat).  Addie amazes me with her compassion for her two younger sisters.

When everyone gathered to watch the burning of the demera, things got a little hairy for me.  Arabella especially hates loud music or speaking over speaker systems, so when speakers were moved to within 5 feet of us and the huge raging fire burned and the wine blew ashes on us; I had a sobbing 4 year old and very concerned 2 year old.  We all rushed up the hill away from the smoke and ashes which allowed us a moment to regroup and calm some fears.
All in all, the girls did really well.  Bella's still not a crowd lover but Addie and Ashlynn really enjoyed the entire thing.  As did I!

Melkam Meskel Ethiopia!
Addie and her best friend
St. Gabriel's choir

Tuesday, July 3, 2012

Fourth of July sparklers (minus the sparks)


When we are far from home, holidays are the hardest for me.  Any other day, I say to myself, "what a great adventure we are having in Ethiopia" (OK-not EVERY other day but lots of days I do).  On holidays I miss America, family and friends the most.  Last year on the Fourth of July we were teaching the girls to wave sparklers, having a cookout with our dear friends and taking Addie to an awesome community fireworks show.

We won't be doing any of those things this year.  It's rainy season, although the sun peaks out mid-day to warm us, most of the day (and night) is chilly and rainy.  This won't deter us from celebrating America's Independence Day!  No way no how!

Addie and I made homemade paper sparklers in red white and blue.  I had to explain to her why we chose those colors, which means she is in desperate need of a U.S. social studies lesson.  As we were making these I had to laugh because she asked "But, where do we put the fire?".  These are strictly firel-less sparklers, which I think bummed her out a bit.  

If you are going to be waving real sparklers around today with your kids-good for you!  I wish we were too.  For those of us outside of America we have to get creative.  This is a simple craft that your kids can do with your help!

Stuff you will need:
empty paper towel roll cut in two (or two empty toilet paper rolls)
red white and blue paper
ribbon
tape
scissors

I happened to have Christmas wrapping paper that is shiny and red on one side with white on the other that was perfect for this craft.  Look around your house for supplies.  We just used what we could find.
Cut long wide strips of all sorts of lengths from the paper.  Fold the long strips in half and cut down the non-folded edge until you get close to the bottom.  Keep cutting thin strips.

Wrap the shaggy cut paper around the end of your cardboard roll and tape it in place.  Repeat for the other side of your cardboard roll.

We used blue curling ribbon to add some pizzaz to the sparkler.  I taped curled pieces to the inside of the end of the roll so they'd hang out.  A contrasting color is nice.  It looks like a firework!
Cut a piece of construction paper in half and measure it for the middle length of your sparkler.  Roll your sparkler in the paper so the middle looks nice.  Tape it on tightly.

For finishing touches we added a small piece of ribbon to clean up the ends of the cardboard roll next to the sparkler ends.
 They are ready to shake and celebrate! Happy Fourth of July!

P.S. Hardship Homemaking is a neat collaborative blog that includes tips, recipes, advice to make life overseas in tough locations easier.  They're including me as a guest blogger for a series using some of my recipes and ideas! Isn't that cool?  Go check it out.  This week they're using my post about homemade hamburger buns.  Which reminds me that I need to go make a batch for our cheeseburgers today!