Showing posts with label Easter. Show all posts

Tuesday, May 13, 2014

Easter celebrations


I recognize that I'm a month late on Easter blogging!  Holy cow, a month has gone by without an update from me.  There's much more to talk about, other than Easter so I'm going to be doing some back-posting to get up to speed.  Mostly, it's so years down the road, my children don't go searching back through this journal of our life and start bugging me about where April and May went!

We had two Easter celebrations.  One with the embassy community the week before Easter and one on Easter Sunday with close friends.  We debated attending the embassy Easter party mostly because it can get pretty chaotic but Justin and I decided that there wasn't anything else to do that weekend and truly the kids love it.  I got smart and packed a picnic lunch so we could avoid the atrocious food served for these things (think cold french toast and greasy potatoes). But even more genius was my decision to throw in plastic cups and a bottle of wine.  Friends followed suit and we finished the bottle during the event and replaced it with two more from the commissary.  So let's just say, the family all got sunburned because Mama was having a bit too much fun to remember sunblock.  What a great way to spend the Easter party at the embassy!  Such a fun day with friends.

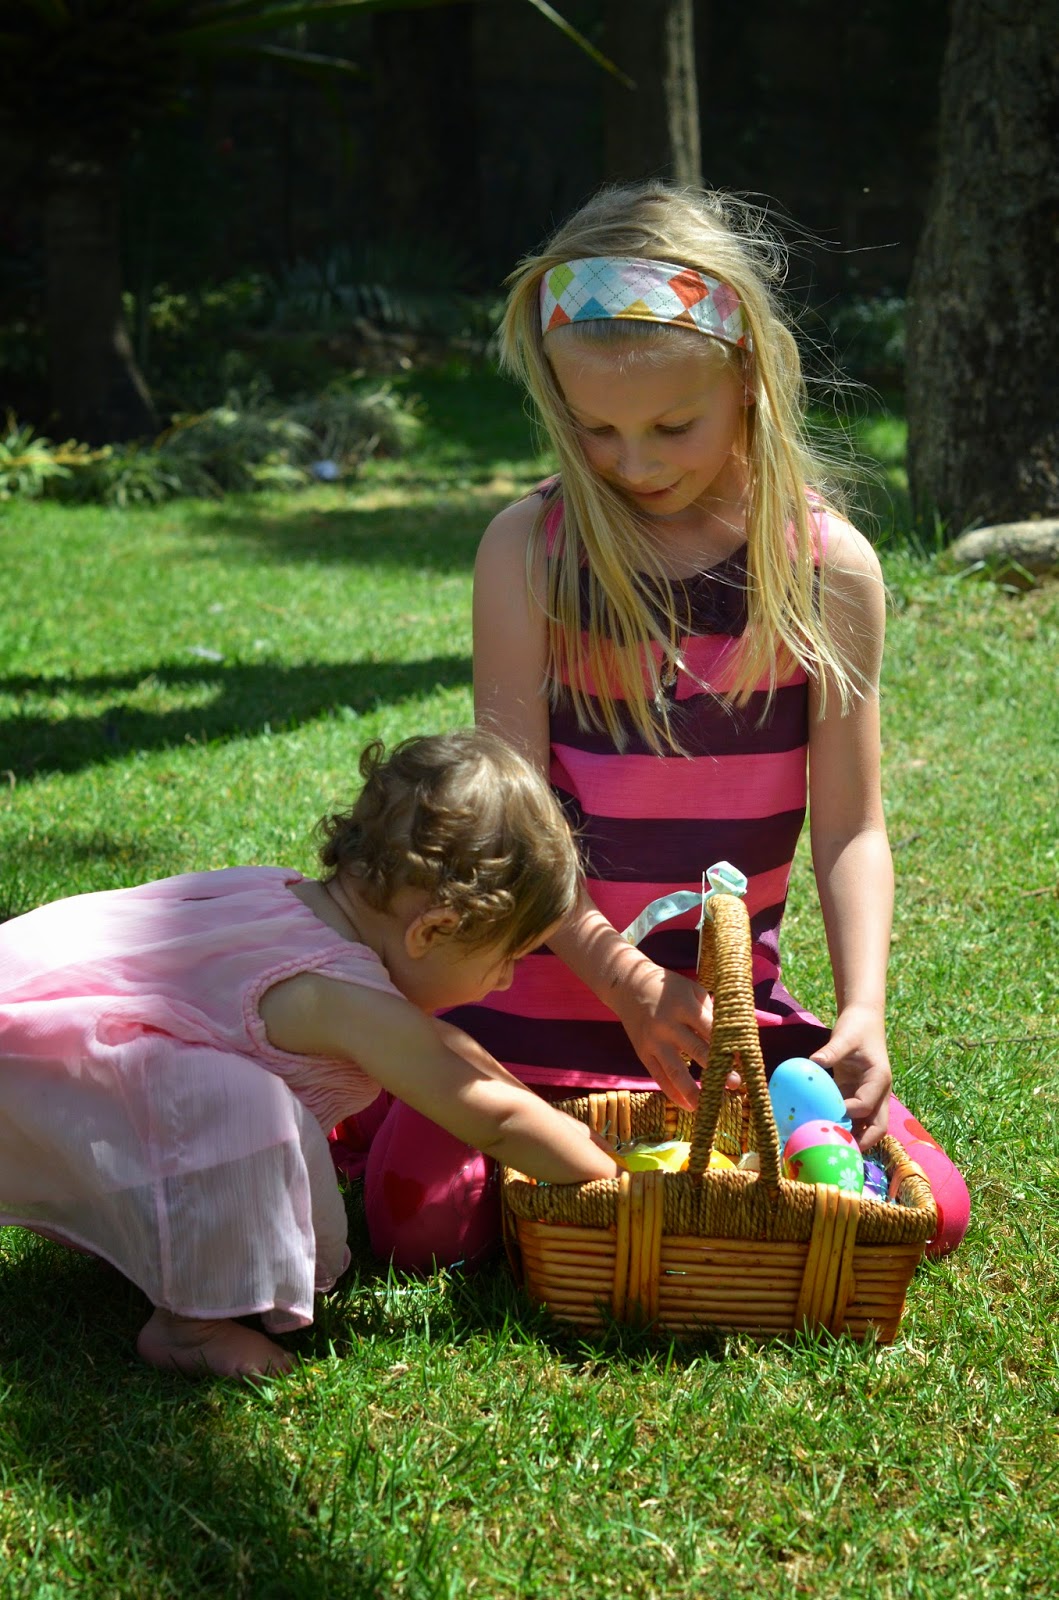
For Easter Sunday we went to our friends Mark and Pria's home for Easter brunch.  We've become close with them and their sweet daughter Jennavieve. She's a precious girl and Addie, Bella and Ashlynn have adopted her as their fourth sister.  It's so fun seeing them together.  Pria is definitely my funniest friend.  She has such a lively personality.  I feel like we could have been friends for a decade not just a few short months.  They have the perfect back yard for an Easter egg hunt.  The food was amazing and the company was perfect. We opened a special Hungarian bottle of champagne! The girls were high on sugar all day!  It was a great way to spend a day in Ethiopia.

Monday, April 14, 2014

silk tie dyed Easter eggs


This year for Easter we're making lots of pretty decorated eggs.  We have the PAAS box with little dye tablets for the girls to do this week but I also decided to do something different.  Last year I found gorgeous photos of pretty eggs that had been dyed with old silk ties.  I asked my mom to hit the local Goodwill and pick some up for me and I've been saving them all these months for this project.

Admittedly, this craft project was mostly for my enjoyment.  Almost all the work fell on my shoulders but the very last step of unwrapping the eggs to reveal the gorgeous colors, I left to the kids.  They loved it and it was so much fun.  If you spread the steps out over the course of a few days it's not really that time consuming.  It's certainly not difficult.

What you need:
White raw eggs
Patterned silk ties or cloth
Old white t-shirt or pillow case
Twist ties
White vinegar
Varnish or glaze

Step 1: Get out your selection of old silk ties.  The brighter and bolder the patterns the better.  Cut out the backing and open up the large piece of silk.

Step 2: Cut your tie into pieces that will wrap entirely around the raw egg.  We only have access to small white eggs so I was able to get 3-4 eggs wrapped with one tie.  With large white eggs you will get two eggs per tie.  Make sure the silk is tight and smooth against the egg.  Use a twist tie to hold the silk in place.  Cut the ends if they are long.

Step 3: Cut the old white t-shirt or pillow case into small pieces that you now wrap around the silk-wrapped egg.  It's not as crucial to make it smooth and tight but do your best and use a twist tie to secure the fabric.

Step 4: Place the wrapped eggs in a large pot for boiling, add 1/4 cup white vinegar to the water and set your temperature on high.  Once the water is boiling set your timer for 20 minutes.  After the 20 minutes is up, remove the eggs and let them cool completely.


This is the step I let the children complete.  It's the best part.  Unwrap the eggs and reveal the amazing patterns that have transferred to the eggs. Let them dry completely.

Step 5: Glazing the eggs.  This step is completely optional.  The eggs are certainly lovely without a sheen but we had a little bottle of Crayola bead glaze from another craft project so we painted the clear glaze on the eggs.  It enhanced the colors and made them extra gorgeous.  I've read that a little coating of olive oil would shine them up as well.

It's really fun to see which ties produced which patterns on the eggs.
We're displaying them in a pretty basket but since the boiled egg inside can't keep forever we will likely display them until Easter and then toss them.  It's not advisable to eat the eggs since you aren't sure what kind of dyes are being used and the glaze adds an extra unappetizing layer.  Better to eat the PAAS eggs!  But these ones sure are pretty.

Wednesday, March 27, 2013

Easter photo shoot


I ordered these sweet matching outfits for the girls last year (hello end of season sales!).  Easter is as good of a time as any to snap a few pictures of my beautiful daughters.  We used a friend's yard for the setting and poor Ashlynn was not happy with the wet grass.

DIY: Baby’s Breath bird nests


Baby’s Breath is the perfect Spring flower to use for Easter decorations.  I love how simple and sweet the little white flowers are.  Used in large amounts it can make a big impact.

These little birds nests are by far my favorite idea I've had this week.  They look so sweet holding tiny blue eggs on our mantel.

You will need
Deep cereal bowl
Baby’s Breath
Wax or parchment paper
Hot glue gun

Place a small square of wax or parchment paper in the bottom of a bowl. Place snipped baby’s breath blooms in a bowl with the blooms on the outer edge forming a more shallow space in the middle.  
Place a heavy jar or object in the middle to help shape the nest.  
Using a hot glue gun, coat the middle of the nest with glue and place another small square on top of the glue and weight it down again. 

When ready to use the nest, remove it from the bowl and peal off the paper. The baby’s breath may flatten out a bit but can be reshaped in the bowl again overnight.  I like the way they spread over time.  

Fill with pretty dyed Easter eggs and place them on your mantel or use as a table centerpiece.  

decorating for Easter


I vowed this year I'd have things a bit more put together than last Easter. Lucky for me, this week is Spring break and the girls have been eager to get crafty and decorate.  Here is what we've been up to.

Turning our Halloween branches into Spring branches with Baby's Breath, floral wire and stuffed birds. Baby' Breath bird nests (see my DIY)
spooky no more!
Making glittery Easter egg ornaments for the tree.


Easter egg bunting for our mantel (bunting obsessed I tell you!)


Dying adorable little Ethiopian eggs
Eggs resting on my mini muffin tin!  Tiny eggs are more fun!